
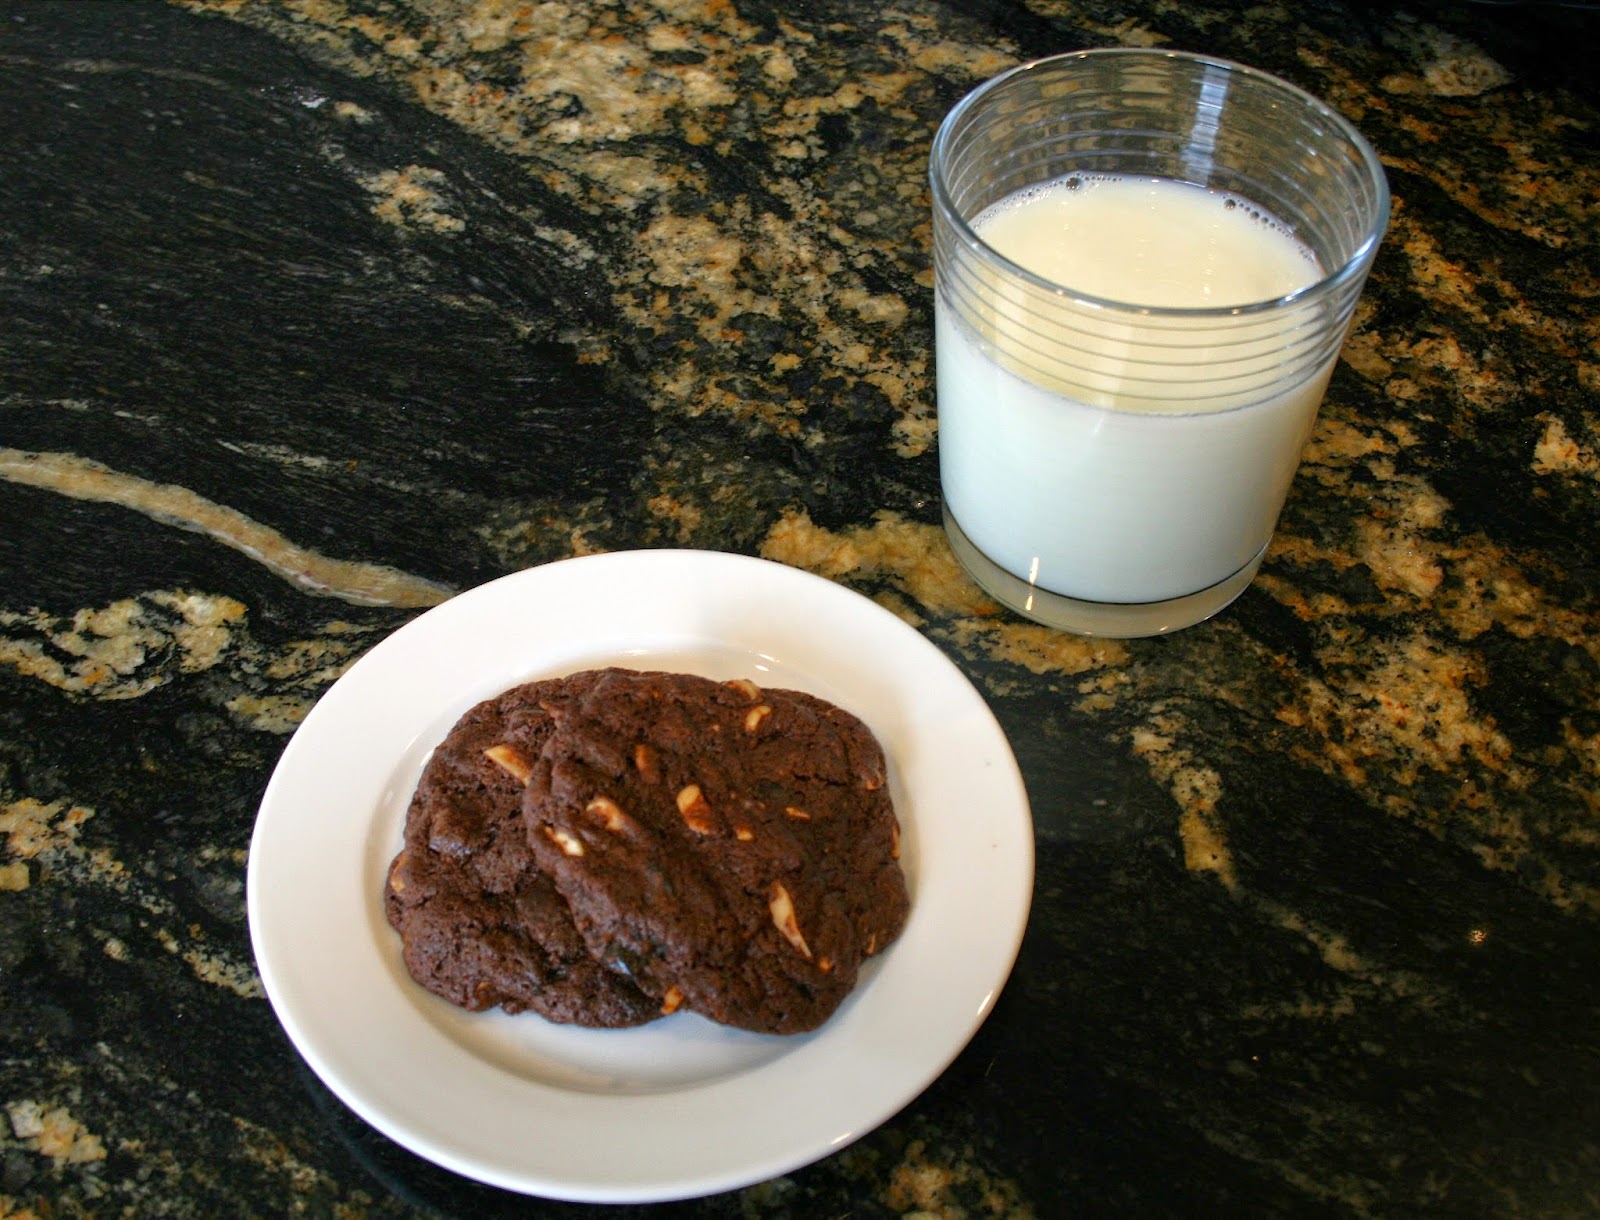
Chocolate Cherry Almond Cookies
adapted from Loaves and Stitches
makes about 3 dozen cookies
Ingredients:
1 cup dried tart cherries
1 TB kirsch, cherry juice, rum, or water
1 cup light brown sugar
12 TB unsalted butter, at room temperature
2 TB sour cherry jam (I left this out, unfortunately couldn't find any, and substituted some concentrated sour cherry juice instead)
1 egg plus 1 egg yolk
1 teaspoon vanilla extract
1 1/4 cups all purpose flour
1/2 cup dutch processed cocoa powder
1/4 teaspoon baking powder
1/2 teaspoon baking soda
1 teaspoon kosher salt
1 1/4 cups dark chocolate, chopped into bits, or chocolate chips
1 cup slivered almonds, toasted
Directions:
Center your oven rack and preheat the oven to 350F. Line two baking sheets with parchment paper.
Combine the dried cherries and kirsch/cherry juice/rum/water in a bowl. Since my cherry juice was concentrated and a thick syrupy liquid, I also added in a TB water. Cover tightly with plastic wrap and microwave for 45-60 minutes or until the liquid boils. Remove from the microwave (caution - it is HOT) and give the bowl a little shake before letting it cool to room temperature. Keep the plastic wrap over the cherries as it cools.
Meanwhile, cream the butter and sugar together until very light and fluffy, about 4-5 minutes. Add the cherry jam, egg, egg yolk, and vanilla. Mix until evenly distributed.
Whisk the flour, cocoa powder, baking powder, baking soda and salt together in a medium bowl. Add all at once to the butter mixture and mix on low speed until almost completely incorporated. Add the chocolate, almonds and macerated cherries (make sure these are cool when you add them or they'll melt the dough!). Mix just until evenly distributed.
Scoop the dough into large tablespoon-sized balls and place them 2-3 inches apart on the prepared cookie sheets. Press the balls down lightly with moistened hands, until they are about 1/2-inch thick. Bake one pan at a time for 12-15 minutes. The cookies should be firm around the edges but soft in the middle. Cool on the pans.
For some spur-of-the-moment cookies, you can freeze these and bake them as you get a desire for fresh cookies! To do this, scoop out the dough onto the baking sheets as described above, but space them as close together as you want for now. Cover the pan with plastic wrap and press lightly to ensure that all of the balls are pressed into 1/2-inch disks. Freeze the pan for 1-2 hours. Once frozen, transfer to a freezer bag and store in freezer for up to 6 months. When ready to bake, follow the instructions above for spacing and add a few minutes to the baking time.
Printable Recipe
This was a fantastic change from the typical chocolate-chip cookies that you will often find at our house. They are luxurious tasting, with that beautiful combination of chocolate, almond and tart cherry. What could be wrong with that? NOTHING! Mmmm. And the idea of freezing some to have a nice warm cookie whenever you want some? That is nothing short of brilliant! I will be doing this with cookie dough from now on!


