Thursday, August 30, 2012

On the Needles


Before I went on vacation I went into a mad frenzy to figure out a knitting project to bring with me.  I simply cannot travel without a good book and a knitting project!  So I scoured Ravelry for something to knit and found Color Affection.  I have been kind-of itching to make some sort of a shawl/wrap type thing but have not been very excited by the lacey ones I have seen.  Color Affection fits the bill!  I love the asymmetrical look to the stripes. 

I must say that the never-ending garter stitches get really old, especially in the second section, which has the two colors of stripes.  One stripe alone is about a zillion stitches long, so I don't make much progress when I sit down to knit! 

However, like I said, it is a work in progress and I'll update you when I am further along!  In case you are interested, I am using Knitpicks Comfy Fingering yarn.  I am allergic to wool (a downright terrible allergy for someone who knits) so it is always a challenge for me to find substitute yarns.  I am enjoying the Comfy yarn, though.  It is soft and easy to work.  I don't usually choose yarns so close in color to ones on a pattern, but it worked out that way this time!

It's so great to have a knitting project again!

Monday, August 27, 2012

Daring Bakers: Pate a Choux Swans!

Yes indeed, I made a pate a choux swan!  Truly, I am as shocked as you are.  

Kat of The Bobwhites was our August 2012 Daring Baker hostess who inspired us to have fun creating pate a choux shapes, filled with creme patisseire or Chantilly cream.  We were encouraged to create swans or any shape we wanted and go crazy with filling flavors allowing our creativity to go wild!

In case the fancy French words are throwing you off, pate a choux is the basis for pastry part of cream puffs and eclairs.  It is the puffy dough that you then fill with yummy cream.  Never in my wildest imagination did I ever think I could create a pate a choux swan, but looky there, I did it!  It really is much easier than it looks!

Sunday, August 26, 2012

Chunky Peanut Butter and Oatmeal Chocolate Chipsters


I was astounded to realize recently that we had NO treats in our house.  Nothing.  Not even some cookies hidden away in the freezer.  The clever girl asked for a cookie after dinner and I had to tell her we didn't have anything.  She looked at me like I had sprouted a second head.  "Nothing?!", she said, incredulously.  "Momma, we need to bake some cookies tomorrow!", she exclaimed.  It was a travesty!  Don't get me wrong, we don't have treats every day after dinner.  But usually there is a little something sweet somewhere in our house for a random treat.  It was truly devastating to have no treats.  I felt a bit like Old Mother Hubbard, though luckily my cupboards weren't so bare that I couldn't rectify the situation!

Though 99.9% of the time I make my favorite chocolate chip cookie to fill our treat needs, I have decided lately that I need to branch out and try other cookies.  Back to the cookbooks to find something to try...  And alas, I found Chunky Peanut Butter and Oatmeal Chocolate Chipsters in Dorie Greenspan's cookbook, Baking: From My Home to Yours.  Do you have this cookbook?  If you enjoy baking, I highly recommend this book for your shelf.  It is wonderful.

Anyway, this is like three amazing cookies all in one!  A trifecta of yummy cookie-ness!  Peanutbutter?  Check!  Oatmeal?  Check!  Chocolate Chips?  CHECK!!  How can you go wrong?

You know the TWD group I am in?  Well, the cookbook containing this cookie recipe is the first cookbook they cooked through.  I am super sad that I missed that experience and may just have to replicate it on my own sometime.  Drat.  Anyway, since this recipe is part of that book, hundreds of people have baked it and blogged about it!  So when I googled the recipe, I had tons of opportunities to see what different people thought!  The first blog I found noted that she reduced the amount of butter in the recipe by HALF.  Wow.  That is not something I would have been brave enough to try on my own, but I thought it was definitely worth thinking about.  And as I looked at other bloggers posts, I noticed that many of the cookies were flatter than I wanted and had that brown buttery look.  Many people stated that the peanut butter flavor did not really come through, but it tasted more buttery.  Ah-ha.  So I made a big change (in my opinion) to the recipe.  Instead of using 2 sticks of butter, I used 1/2 of one stick and and equal amount of butter-flavor Crisco.  Technically, this equals 1 stick of butter but I wanted to substitute some Crisco because of the melting difference between butter and Crisco.  (For more discussion about this, see my chocolate chip cookie recipe, linked above.) Next time I might even try just Crisco, no butter.  Now we are getting crazy!

Enough talking, let's get baking!  Whisk together oats, flour, baking soda, spices and salt.

Here is my scant amount of butter/Crisco.  The butter is on the left, Crisco on the right.  Imagine, these cookies are supposed to use twice that amount of fat!  It makes me so happy to have found a way to "lighten" up some cookies.  Since there is oatmeal involved, can we call them "healthy"?  No, I didn't think so.

Cream the butter/Crisco with peanut butter, white sugar and brown sugar.  I reduced the total amount of sugar by about 1/3 cup and will do more next time.  Instead of using 2 cups total, maybe I'll try removing another 1/3 cup or something.  Ratio-wise, I'll use more brown sugar than white sugar.  Whenever I make these again, I'll let you know!

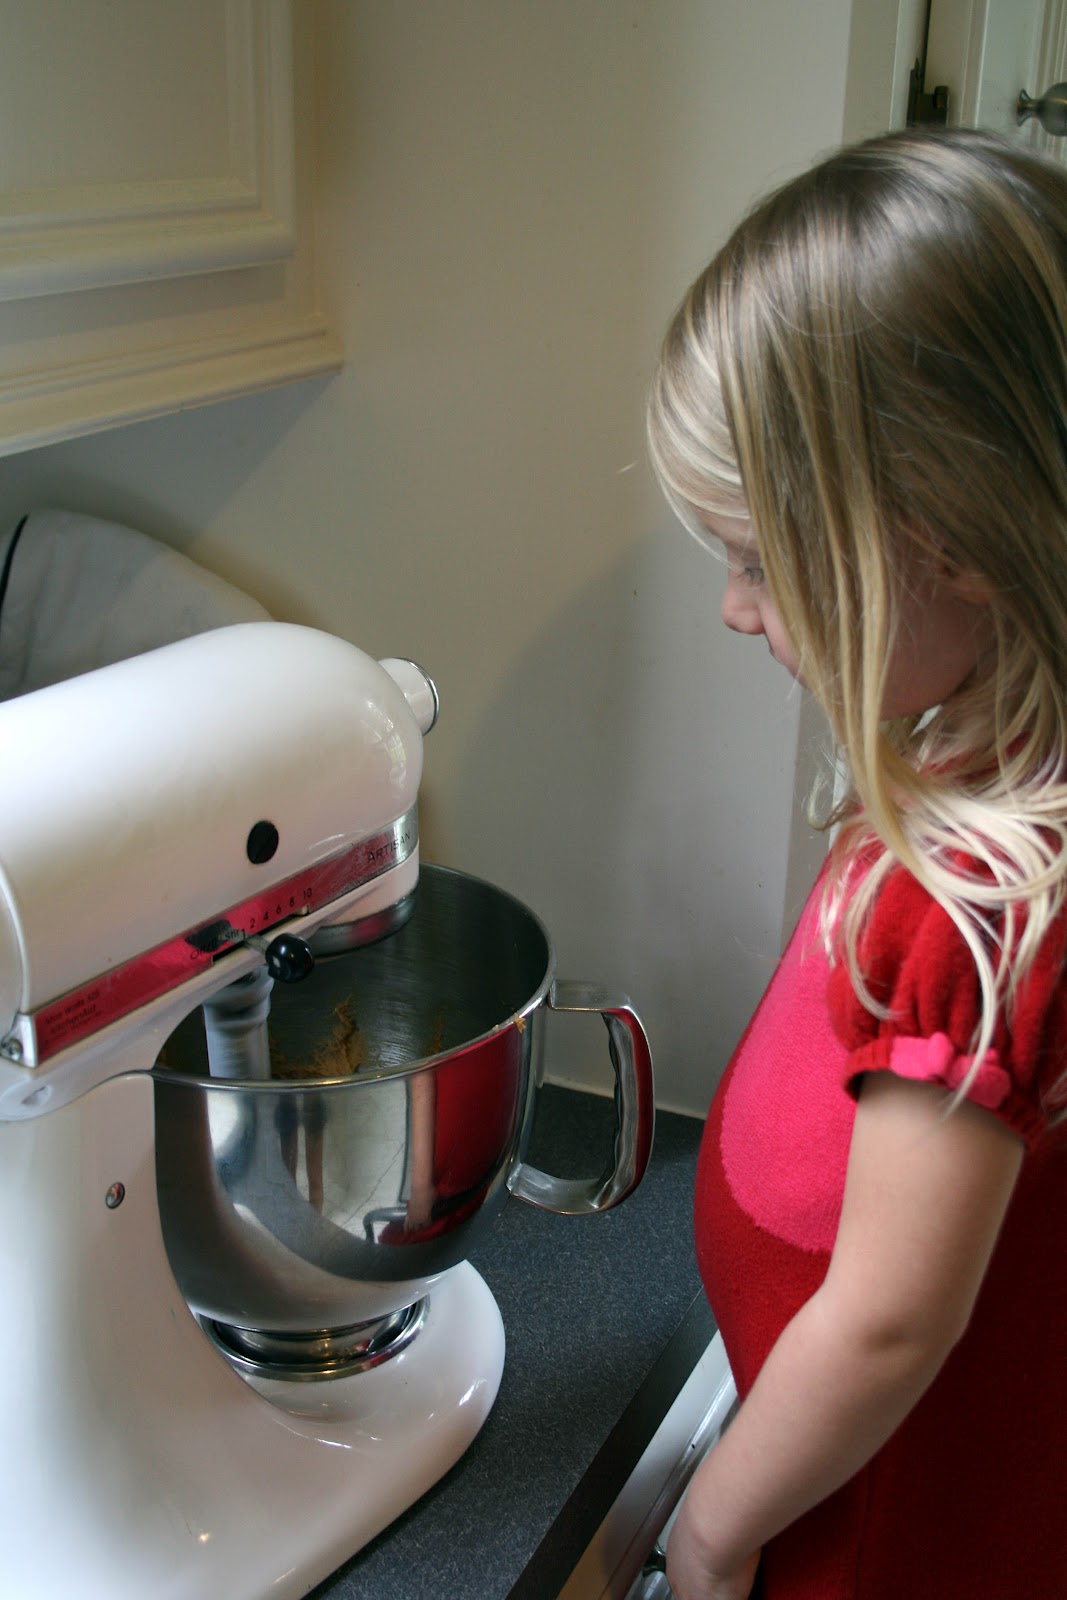
Once that is nice and creamy, add the eggs one at a time and then the vanilla extract.  Then slowly add the oat mixture, mixing only until it is all combined.  Stir in the chips.  Don't you love how little kids stand with their tummy's poked out?  It just cracks me up.

Here comes another controversial part.  According to the recipe you should now refrigerate the dough for 2-24 hours.  Wait even longer for cookies?  Agony.  Supposedly this gives you more evenly shaped cookies.  I did refrigerate them for about 2 hours but I don't know that I would do it again.  When cold, the dough is a bit dry and harder to get into the smooshed ball-shape.  And the dryness is not because I used less fat.  There were lots of comments about this in the random blogs I read.  Anyway, refrigerate (or don't) and then scoop the batter into rounded tablespoons and put them on the baking sheet.  Bake 13-15 minutes.

Success!  Puffy, chewy goodness!

Chunky Peanut Butter and Oatmeal Chocolate Chipsters
adapted from Dorie Greenspan's Baking: From My Home to Yours
3 cups old fashioned oats
1 cup all purpose flour
1 tsp baking soda
2 tsp ground cinnamon 
1/4 tsp freshly ground nutmeg 
1/4 tsp salt
2 sticks (8 ounces) unsalted butter, at room temperature (I used 1/4 cup butter, 1/4 cup butter-flavor Crisco)
1 cup peanut butter--chunky (my choice) or smooth (but not natural)
1 cup sugar 
1 cup (packed) light brown sugar 
2 large eggs
1 tsp pure vanilla extract
9 ounces bittersweet chocolate, chopped into chunks, or 1 1/2 cups store-bought chocolate chips or chunks

Preheat the oven to 350F and position racks to divide the oven into thirds.  Line two baking sheets with parchment paper.

Whisk together the oats, flour, baking soda, spices and salt.

Working with a stand mixer, beat the butter, peanut butter, sugar and brown sugar on medium speed until smooth and creamy. Add eggs one at a time, beating for 1 minute after each addition, then add the vanilla. Reduce the mixer speed to low and slowly add the dry ingredients, beating only until combined. Mix in the chips. If you have time and patience, cover and chill the dough for about 2 hours or for up to one day. (This will give you more evenly shaped cookies.)

If the dough is not chilled, drop rounded tablespoonfuls 2 inches apart onto the baking sheets. If the dough is chilled, scoop up rounded tablespoons, roll the balls between your hands and place them 2 inches apart on the sheets. Press the chilled balls gently with the heel of your hand until they are about 1/2 inch thick.

Bake for 13 to 15 minutes, rotating the sheets from top to bottom and front to back after 7 minutes. The cookies should be golden and just firm around the edges. Lift the cookies onto cooling racks with a wide metal spatula - they'll firm as they cool.

Repeat with the remaining dough, cooling the baking sheets between batches.

Storing: Wrapped airtight or piled into a cookie jar, the cookies will keep at room temperature for about 4 days. Wrapped and frozen, they'll be good for 2 months.

Options:  
Substitute soft, moist raisins for the chocolate chunks or just stir in some raisins along with them. 
Toss in chopped peanuts too (salted or not). 

Enjoy triple cookie goodness!  I made mine into an ice cream sandwich.  Mmmm. 

Friday, August 24, 2012

Tri-Berry Muffins

The kids group in my neighborhood had a back-to-school pot luck this past weekend.  Though you might think of a pot-luck as a dinner-type event, this was held in the morning at the neighborhood park.  It is way too hot in the afternoons to spend much time outside, so mornings are always best!  Late the night before the event, I remembered that I needed to bring something (there's another shining example of my good planning!) so I scavenged my recipe files for a recipe to make.  I found several that sounded great but this one jumped out as the winner - Tri-Berry Muffins from the Barefoot Contessa.  It just so happened that I had purchased blueberries, raspberries and strawberries earlier that day, so obviously it was meant to be!  And I have to say, thank goodness I had a need to make this recipe!  It is delicious!  Why had I waited so long to pull this out of the files?  It will not stay hidden any longer!

This recipe comes together really fast, so I made them in the morning and brought freshly baked muffins to the pot luck!  Muffins are always the best the day they are made, in my opinion!

First sift together the dry ingredients - flour, baking powder, baking soda, salt and cinnamon.   The recipe calls for 3 cups all-purpose flour and I replaced a cup of that with whole wheat flour.  I generally do half all-purpose, half whole wheat but I was lazy and didn't feel like getting out the half cup measure.  Pitiful, I know.  

Then mix melted butter, eggs, and milk together in another bowl.  Here is my epiphany for the day:  if you are going to mix melted butter with milk, the milk needs to be at room temperature even if the recipe doesn't say so.  Otherwise, when you pour the melted butter into the cold milk, the butter hardens up again!  Once the butter hardened up, I put the bowl in the microwave in 5 second intervals and whisked in between, until it was softened up again.  You can see in the picture that there were still hardened pieces in the bowl, but they were individually pretty small and I was scared of microwaving too much.  Lesson learned!  If mixing melted butter into a liquid, make sure that liquid is at room temperature!

Anyway, once the eggs, butter and milk are mixed, pour it into a well in the dry ingredients and stir until it is just combined.  

Add blueberries, raspberries, and chopped strawberries, and the sugar.  Here is what is interesting about this recipe.  Normally, sugar is added with the other dry ingredients.  In this recipe it is added later, and helps to create a nice crunch on the top of the muffin!  I added the amount of sugar called for in the recipe (1 1/2 cups) but next time I'll probably add less.  The berries add plenty of their own natural sweetness so I think I could easily cut down on the sugar.

The muffins bake for 20-25 minutes, and I allowed them to cool while I took a quick shower before heading to the park.  If you look closely, you might be able to tell that some of the muffins got a little browner than the others.  In fact, the browner ones are also less puffy.  I have two muffin pans:  a metal one and a silicone one.  The browner, flatter muffins were baked in the silicone pan.  That is definitely not my preferred pan.  I may have to dump it and just get another normal muffin pan!  

I loaded the muffins in my cupcake carrier (such a handy gadget) and brought them to the pot-luck.  I had hoped to get a picture of someone eating a muffin but alas, they were devoured too quickly!  I did get to have one, and I must admit they are really delicious.  The different types of berries give their different sweet/tart flavors and make nice juicy spots in the muffins.  Each muffin was bursting with berries.  

Tri-Berry Muffins
adapted from Barefoot Contessa at Home
3 cups all-purpose flour (I substituted 1 cup whole-wheat, and will do 1 1/2 cups next time)
1 TB baking powder
1/2 teaspoon baking soda
1/2 teaspoon kosher salt
1 1/2 TB ground cinnamon
1 1/4 cups milk, at room temperature
2 extra-large eggs, lightly beaten
1/2 pound (2 sticks) unsalted butter, melted and cooled
1 cup fresh blueberries
1/2 cup fresh raspberries
1/2 cup diced fresh strawberries
1 1/2 cups sugar (could use less)

Preheat the oven to 375F.  Line muffin pans with paper liners.

Sift the flours, baking powder, baking soda, salt and cinnamon together in a large bowl.  Stir with your hand to be sure the ingredients are combined.  In another smaller bowl, combine the milk, eggs and melted butter.  Make a well in the middle of the dry mixture, pour the butter/milk/egg mixture into the well, and stir just until combined.  It is okay if there are lumps!  Don't overmix the batter!  Add the fruit and sugar and stir gently to combine. 

Using a 2 1/4 inch ice-cream scoop, spoon the batter into the muffin cups to fill the liners.  Bake for 20-25 minutes, until a cake tester comes out clean and the tops are nicely browned.  I used a 1 5/8 ounce disher and got 23 muffins, though the recipe says you should get 12-18.  Depends on the size of your scoop!  

A friend of mine who is about to have a baby any day now truly loved them - she said she had to refrain from eating the whole tray!  Yeah!  Anything I can do to bring bliss to a woman in that condition is worth it!  

This recipe is one I'll make again and again.  I think frozen berries would work fine as well, as long as you don't defrost them before putting them in the batter.  And you could use only 1 or 2 types of  berries and switch the types of berries up a bit too!  Versatile and delicious!  Give it a try!

Tuesday, August 21, 2012

TWD: Baking with Julia - Popovers

Wow.  What a fun pastry!  This week's Tuesday's with Dorie/Baking with Julia recipe is Popovers!  Seriously, these are so easy and look so cool when they come out of the oven, these need to become a dinner party staple!  Guests will be amazed at your amazing pastry skills and we will keep the ease of this recipe our little secret! Many thanks to Paula of Vintage Kitchen Notes and Amy of Bake with Amy for hosting this great recipe!  I highly suggest that you turn to page 213 of Baking with Julia or visit these two blogs to get this recipe!

To make popovers, you simply dump all of the ingredients into a blender, or have your sous chef do it for you!

Sunday, August 19, 2012

Beef with Snow Peas

Yum.  Beef with Snow Peas is a Pioneer Woman recipe and I suggest you give it a go.  It is really tasty and fast to make!  This will probably make it into your "keeper" recipe file.  It made it into mine!

Beef with Snow Peas
adapted from the Pioneer Woman

1-1/2 pound flank steak, trimmed of fat and sliced very thin along the diagonal
1/2 cup low sodium soy sauce or tamari
3 Tablespoons sherry or cooking sherry
2 Tablespoons brown sugar
2 Tablespoons cornstarch
1 Tablespoon minced fresh ginger
8 ounces, weight fresh snow peas, ends trimmed
5 whole Scallions, cut into half-inch pieces on the diagonal
salt as needed (use sparingly)
3 Tablespoons peanut or olive oil
crushed red pepper, for sprinkling
brown, jasmine or long grain rice, cooked according to package

Mix together soy sauce, sherry, brown sugar, cornstarch, and ginger in a medium bowl. Add sliced meat and toss. Set aside.
Heat oil in a heavy skillet (iron is best) or wok over high heat. Add snow peas and stir for 45 seconds. Remove to a separate plate and set aside.
Allow pan to get very hot again. With tongs, add half the meat mixture, leaving most of the marinade still in the bowl. Add half the scallions. Spread out meat as you add it to pan, but do not stir for a good minute. (You want the meat to get as brown as possible in as short amount a time as possible.) Turn meat to the other side and cook for another 30 seconds. Remove to a clean plate.
Repeat with other half of meat, allowing pan to get very hot again first. After turning it, add the first plateful of meat, the rest of the marinade, and the snow peas. Stir over high heat for 30 seconds, then turn off heat. Check seasonings and add salt only if it needs it. Mixture will thicken as it sits.
Serve immediately over rice. Sprinkle crushed red pepper over the top if desired.
Printable Recipe

Fast, yummy dinner?  Here you go!
Enjoy!

Friday, August 17, 2012

Anytime Vegetable Salad

Introducing Anytime Vegetable Salad.  I have made this salad about a zillion times, and change it up a bit each time.  It's just that kind of recipe.  Throw in a mix of whatever veggies you like and away you go.  It is bright, colorful, healthy and delicious!

Anytime Vegetable Salad
recipe adapted a lot from Gaida De Laurentis, Food Network

2 cups shelled edamame soy beans
1 1/2 cups cherry tomatoes, halved
8 oz. yellow/red/orange pepper, in inch pieces
8 oz. fresh corn, lightly cooked and removed from cob
1/3 cup red wine vinegar
3 TB extra-virgin olive oil
2 teaspoons chopped fresh basil
2 teaspoons chopped fresh thyme leaves
1 teaspoon salt
3/4 teaspoon freshly ground black pepper
Spritzes of white truffle oil (optional)

Cook edamame in a large pot of boiling water until crisp-tender, about 3 minutes.  OR, if you purchase the steam-in-the-bag kind, do that instead!  Rinse the edamame with cold water once cooked, then drain well and pat dry.  Repeat with the fresh corn.  Pile all of the vegetables in a big bowl and gently mix them together.

Whisk vinegar, oil, herbs, salt and pepper in a small bowl.  Pour atop the vegetables.  I add a secret ingredient - spritzes of White Truffle Oil.  Yippee!  I found this in the Home Store section of Marshalls for just a couple of dollars and it is awesome.  Spritz this on the top and you get that nice earthy flavor.  Mmmm.  If you don't have such an item, no worries the salad is still great!

Options:  I always use the edamame and tomatoes.  The other veggies, I mix up depending on the season, my mood, whatever.  I have used green beans, artichoke hearts, yellow wax beans, etc.  Whatever makes you happy!  
Printable Recipe

This is great for pot-lucks or parties.  You can easily double the recipe and make it in advance.  If you are worried about the dressing, mix it in a small screw-top jar and add prior to serving.

Enjoy!