

While I knew it was possible to make crackers, I must admit it was not something to which I had given much thought. So when the July challenge was announced, I was intrigued! Crackers! Hmmm.
There are several methods for making crackers, and part of our assignment was to try two different methods. Crackers can be made by hand rolling, using pasta rollers, and by putting them in the icebox and slicing. While I do own a pasta roller, I opted to use the two other methods for my crackers: hand rolling and icebox. Crackers are surprisingly easy and fun to make! Why didn't I think of this sooner?
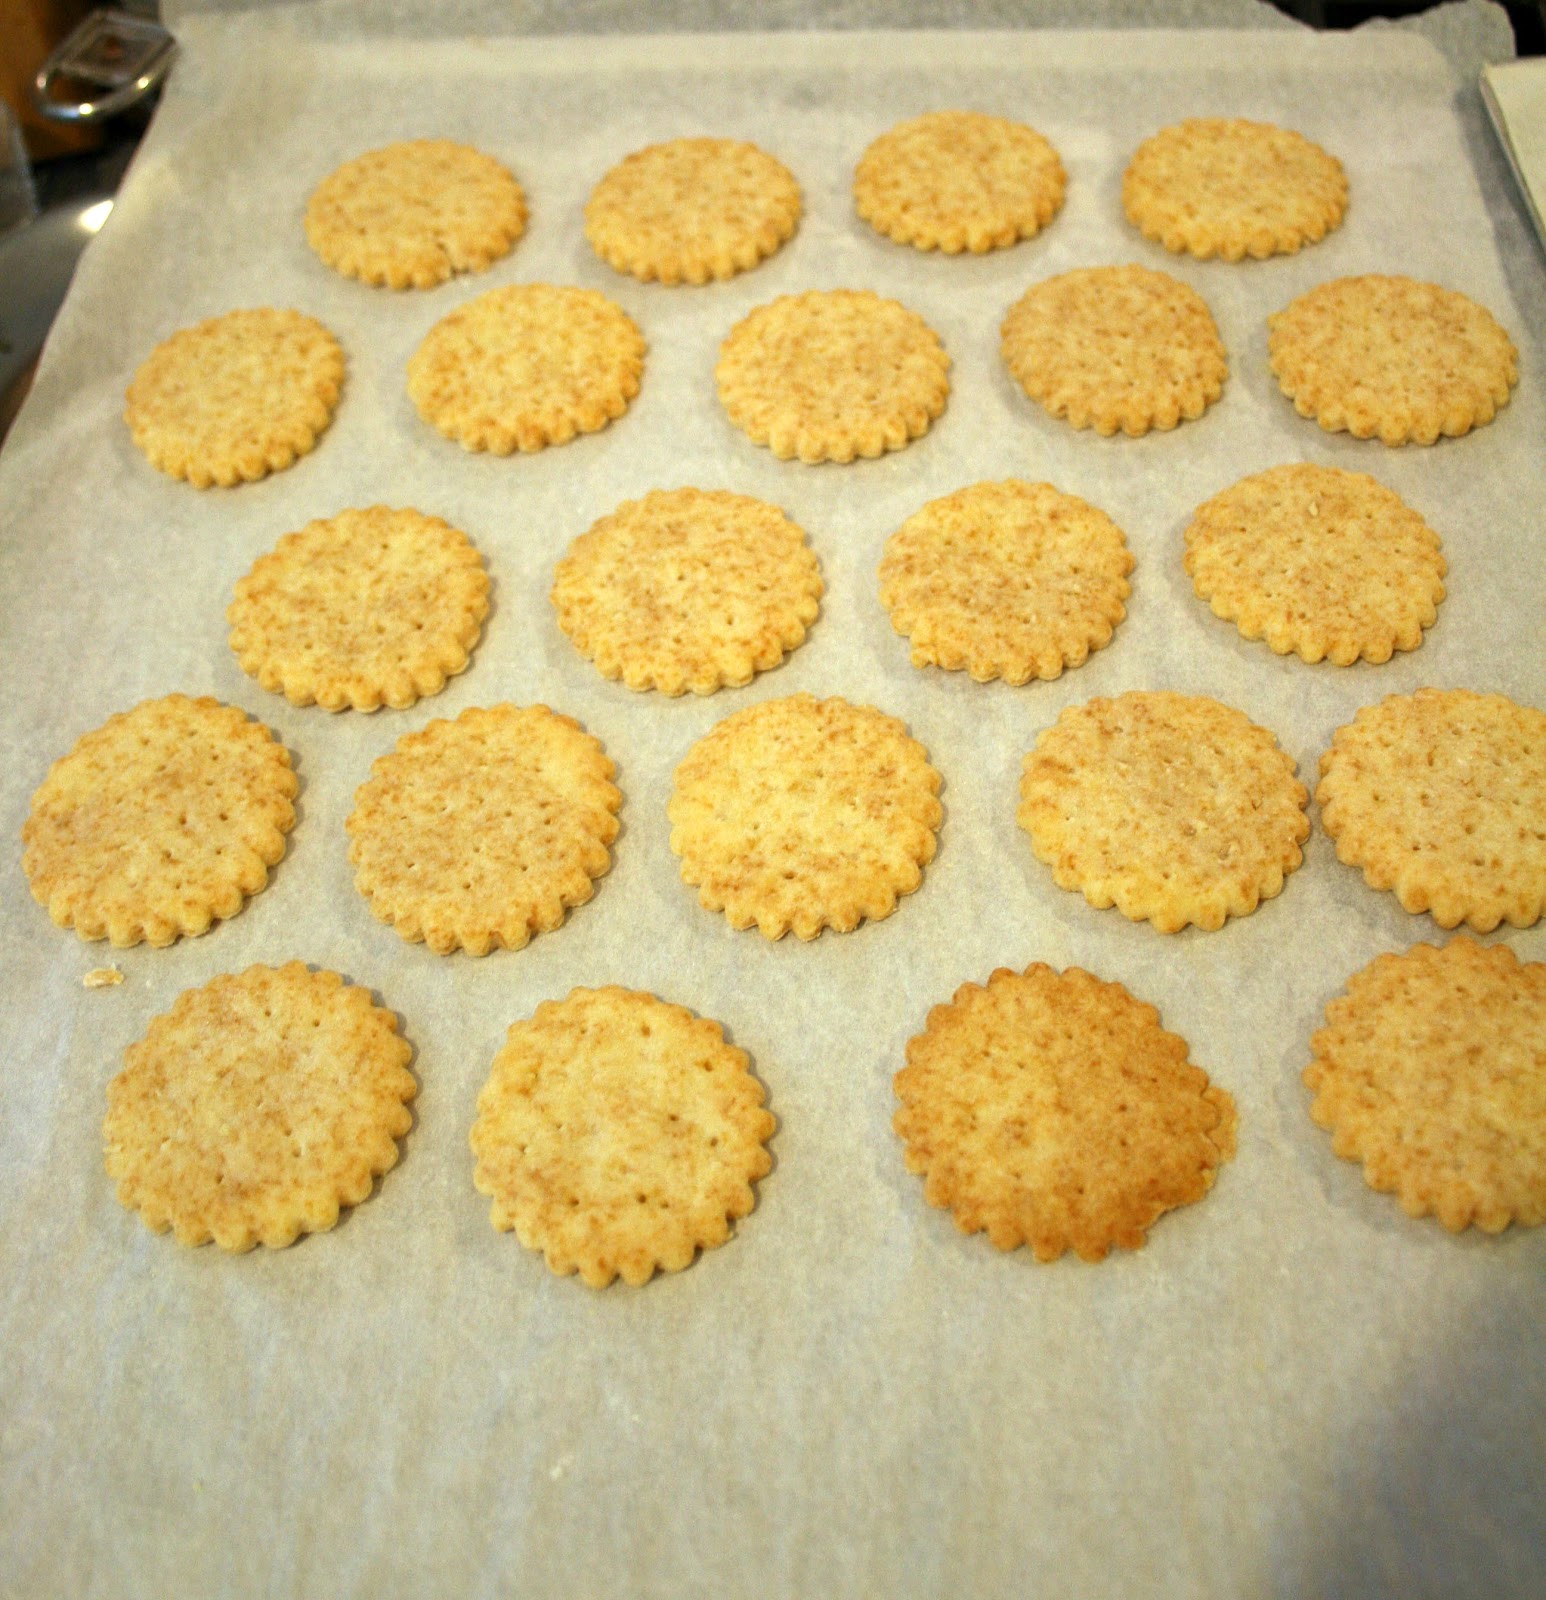
I was thrilled to discover a recipe for homemade Ritz crackers. We eat a LOT of Ritz crackers, or "circle crackers", as the clever girl calls them. To make my own without the bizarre unpronounceable ingredients from the packaged Ritz would be fantastic! Stef, of the Cupcake Project, went on a mission at one point to create the perfect Ritz cracker. Yahoo, because she baked about a zillion crackers before figuring it out! I benefited from her mission! Thanks, Stef!


Homemade Ritz Crackers
adapted from the Cupcake Project
2 cups all-purpose flour
3 tsp baking powder
1 tbsp sugar
1/2 tsp + another 1/2 tsp salt for topping
6 tbsp cold unsalted butter + 3 tbsp unsalted butter, melted
2 tbsp vegetable oil
2/3 cup water
Preheat oven to 400 F.
Put the flour, baking powder, sugar, and 1/2 tsp salt in the food processor, and pulse to combine.
Add cold butter a few small pats at a time, and pulse to combine.
Add vegetable oil. Pulse to combine.
Add water a little bit at a time. Pulse to combine after each addition. The dough should start to form a ball.
Roll dough out as thin as you can. If it ends up somewhat uneven, don't worry about it. They are homemade crackers for goodness sake! You could run these through a pasta roller if you are concerned about the dough being even.
Use cookie cutters to cut the dough out. You can make them shaped like an actual Ritz, or use any shape that you like.
Poke holes in the dough in the Ritz pattern or any pattern you like. Keep in mind that the holes are not just decorative; they help the crackers to bake correctly - so be sure to poke some.
My second cracker was a Parmesean and Thyme Cracker, using the icebox method. A while back I actually found this recipe in a Barefoot Contessa cookbook, and I remember thinking that they sounded good. I am so glad to have found the recipe again!


The first change is that she used more Parmesan cheese in the newer recipe. The first recipe called for 3 ounces, the newer one called for 4 ounces or 1 cup. I grated my cheese with a microplane, thereby getting fine wisps of cheese. It amounted to way more than just one cup. In the video in which she makes the second recipe, she puts the Parmesan in the food processor to finely chop, and uses 1 cup. It would be an interesting test to see the real difference, but my crackers were definitely very cheesy so I am not sure more is necessary.
The one other ingredient change was in the amount of kosher salt. In the earlier recipe she used 1/4 teaspoon, and in the later recipe she used 1/2 teaspoon. I used 1/4 teaspoon and it was plenty. Parmesan cheese has plenty of salt so using more would not have been a good idea, in my opinion.
I think the difference may be in how you grate the cheese. My cheese was finer thus I used a lot more to get the weight. Her cheese was grated more into crumbs which would weigh more, so she used less to get a higher weight. Anyway, there you go. Those are the first 2 differences!


Parmesan and Thyme Crackers
adapted from the Barefoot Contessa
1/4 pound (1 stick) unsalted butter, very room temperature
3 ounces grated Parmesan
1 1/4 cups all-purpose flour
1/4 teaspoon kosher salt
1 teaspoon chopped fresh thyme leaves
1/2 teaspoon freshly ground black pepper
Place the warm butter in the bowl of an electric
mixer fitted with a paddle attachment and mix until creamy. Add the
Parmesan, flour, salt, thyme and pepper and combine.
Dump the dough on a lightly floured board and roll into a 9-inch
long log. Wrap the log in plastic wrap and place in the refrigerator for 30
minutes to harden. They can stay in the refrigerator for up to 4 days at this point.Meanwhile, preheat the oven to 350 degrees F.
Cut the log crosswise into 1/4-inch thick slices. Place the slices on a sheet pan and bake for 22 minutes.
Printable Recipe
This Daring Bakers challenge was such fun! It really opened my eyes to an entire world of baking I had not really considered! I am excited to try more crackers... What a great appetizer for a dinner party or for friends... A sure way to impress!
Awesome job!!! Both of your crackers look and sound delicious!
ReplyDeleteI always thought Ritz crackers had cheese in them! But maybe not?! They look great :)
ReplyDeleteReading this makes me think I really need to give homemade Ritz a try (especially since they're my husband's favorite cracker). Great job!
ReplyDeleteWow - both of those crackers look delicious! I have to give those homemade Ritz crackers a try - they look so perfect!! Wonderful job.
ReplyDelete